Prydkål: pleje og plantning
Indhold:
Prydkålbjørne høster inden for to år. Det første år ligner planten en prydplante med lyse blade og en stærk stilk. I løbet af det andet år sker der fundamentale ændringer, bladene falder, stilken strækker sig ud og små blomster vises, derefter vises grønne sting.
Disse planter er ret lunefulde og tager ikke godt imod frosten, som er typiske for den centrale region i Rusland. I denne henseende, efter at have opfyldt sine funktioner, skal kålen graves ud af blomsterbedet.
Det er enkelt at plante en sådan plante, mens de formerer sig ved frø.
Prydkål: plantningsegenskaber
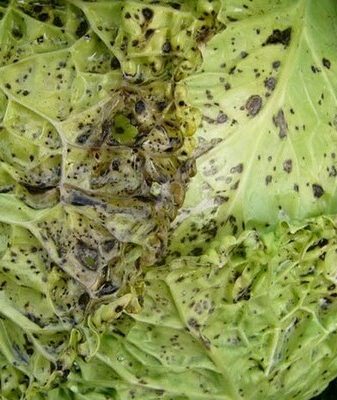
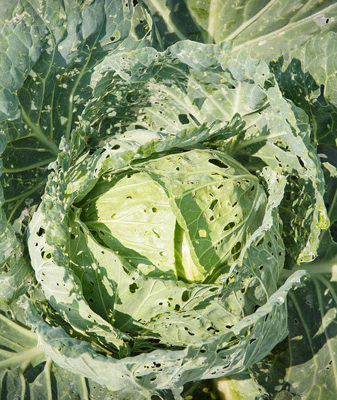
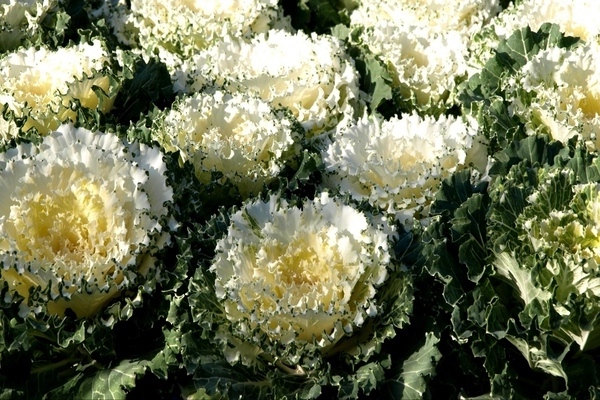
Prydkål: foto
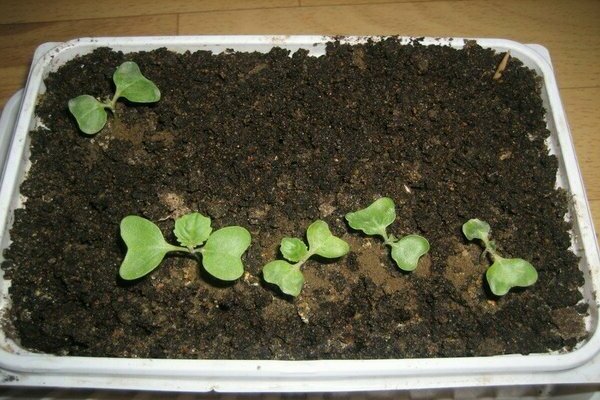
Prydkål bør plantes i begyndelsen af april. Der er ingen særlige krav til jorden, men ved plantning er det påkrævet at forberede den: fodre jorden med en opløsning af Fitosporin-M, Baikal EM-1 eller vælg et andet fungicid for at forhindre sygdommen forårsaget af sortens sorte ben ved svampen.
Frø af prydkål skal presses til en dybde på 0,5 cm, 2 stykker i en gryde med en gennemsnitlig diameter på 5-7 cm og dækkes med folie ovenpå. I begyndelsen af maj kan du plante i drivhuse.
Plantning af prydkål: de bedste steder
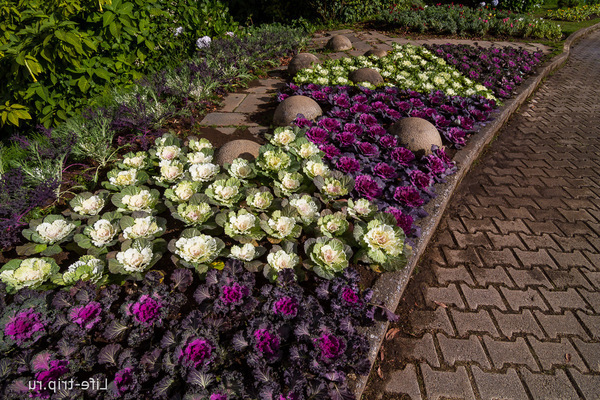
Den bedste placering er dit blomsterbed. Der er så mange usædvanlige nuancer og farver, at de vil tiltrække enhver med deres hidtil usete skønhed.
I første omgang er det bedre at sætte det på sidelinjen. Dette er nødvendigt, så det om sommeren ikke er mærkbart blandt andre, og i øjeblikket er sengene tomme, vil det komme ovenpå - og dette vil være tættere på midten af august.
En prydplante vil se godt ud i lave senge eller små krukker. Det behøver ikke at blive kombineret med andre blomster, der vil blomstre med det på samme tid. Hun, uden hjælp udefra, vil nitte øjet.
Hvis du forlader sommerhuset om efteråret, kan du transplantere kål fra haven til en gryde og dekorere dit hus med det. Hun vil perfekt tolerere flytningen og vil glæde øjet derhjemme i lang tid.
Prydkål: dyrkning og pleje
Kål dekorativ plantning og pleje
Alt er meget simpelt, det vigtigste er at sørge for moderat vanding, løsning og oprydning af ukrudt. Yderligere fodring er ikke nødvendig, ellers vokser stilkene. Topdressing er påkrævet 1-2 gange med komplekse vitaminer, hvis spirerne er meget svage.
Du kan plante spirer på bedene i de sidste forårsdage, når temperaturen er stabil og ligger i området 15-20 grader. Men hvis der pludselig kommer koldt vejr, så er det ødelæggende for planten.
Vær særlig opmærksom på afstanden mellem planterne, når du planter dem i haven. Først og fremmest afhænger det af diametrene på en allerede moden kål, ellers i efteråret finder du ikke ud af, hvor og hvad, det vil være meget tæt i haven. Afstanden kan være op til 0,5 m fra hinanden, da disse planter er ret høje. Hvis sorten stadig ikke er høj, kan du indstille afstanden til 25-30cm.
Pleje er ganske enkel - det er at vande og luge jorden fra ukrudt. Vanding afhænger af vejret uden for vinduet, hvis det er meget varmt, øger vi vandmængden. Du kan fodre den 2 gange om måneden med infusion af mullein.
Om efteråret kan du efterlade prydkål i bedene, da den kan modstå temperaturer op til -10 grader, da den har absorberet de nødvendige vitaminer og stoffer i løbet af sommeren. Om vinteren kan det derfor glæde dit øje.
Hvis du stadig beslutter dig for at grave prydkål op, kan du opbevare det i kælderen, og om foråret kan du plante det igen i bedene og få frø.Pas på stingene, fordi de indeholder frøene, og på et øjeblik åbnes de. Det er bydende nødvendigt at fange tidspunktet for indsamling! De afkom, du modtog, kan være helt forskellige farver, så blomsterbedet vil se meget imponerende ud.
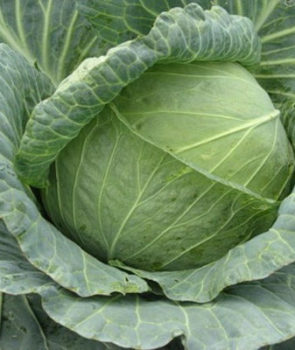
Prydkål: foto

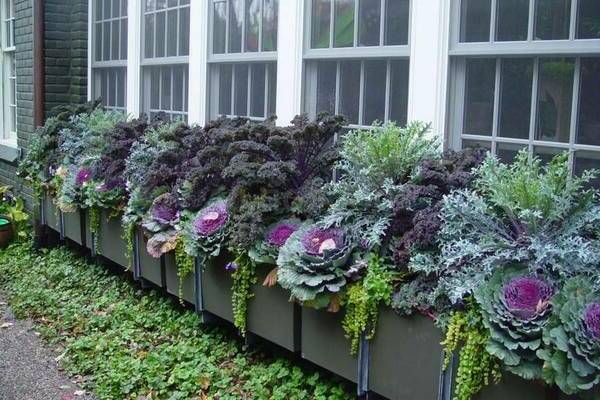
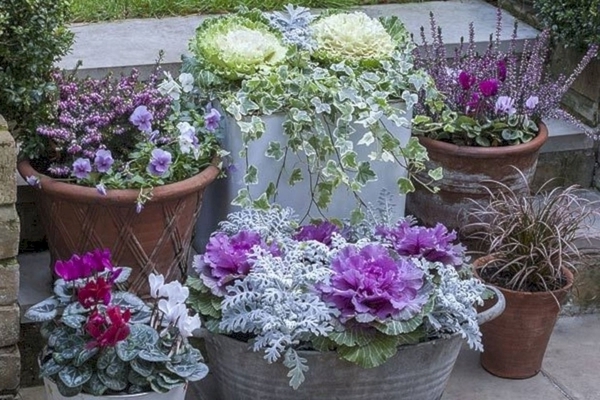
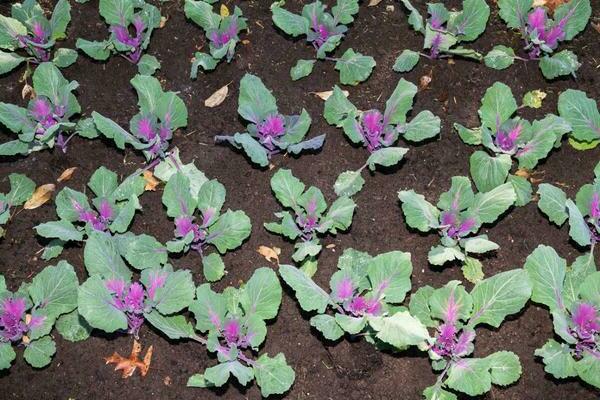
Prydkål i blomsterbedet: foto