Fodring af tomater med jod - hvordan man gør det rigtigt
Indhold:
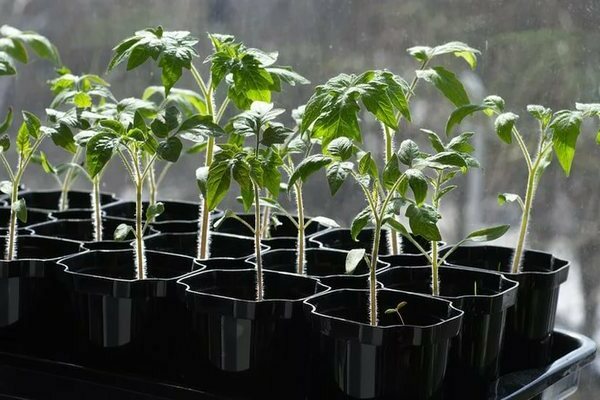
Gartnere og gartnere vælger i stigende grad folkemedicin mod kemikalier af hensyn til en organisk høst. I denne artikel vil vi tale om, hvordan man korrekt fodrer tomater med jod for at styrke frøplanter og øge udbyttet.
Fodring af tomater med jod - fordele
Jod, et naturligt antiseptisk middel, hjælper tomater med at bekæmpe bakterier og parasitter og deltager også i plantens metaboliske og fotosyntetiske processer. Desuden jod:
- beskytter plantens immunsystem
- fremmer udseendet af æggestokke
- fremmer jordens frugtbarhed
- fremmer hurtig frøspiring
Utilstrækkeligt jod fører til generel stuntedness og reducerede udbytter. Oftest er det af alle afgrøder tomater, der lider af jodmangel.
Påfyldning af tomater med jod i den rigtige mængde skader ikke jorden, selve planten, miljøet og vores helbred. Det er dog meget vigtigt at beholde den korrekte dosering!
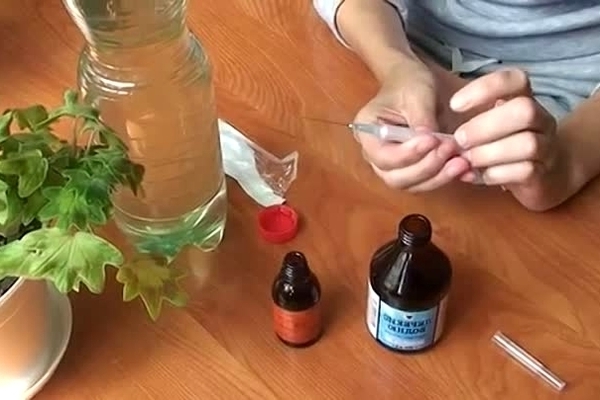
Planten har brug for en utrolig lille mængde af dette stof, så producenterne producerer næsten ikke gødning, der indeholder jod, så det er meget lettere at bruge den sædvanlige jodopløsning, som vi alle har i vores førstehjælpssæt eller frit tilgængelig på apoteker.
Når du skal fodre en tomat med jod
Bemærk, at tomater mangler jod af følgende årsager:
- Planter ser forkrøblede ud
- Ofte syg med sen rødme, meldug, rodrot osv.
- Reagerer skarpt på selv de mindste ændringer i miljøet
For forebyggende formål kan en absolut sund plante dog også fodres med jod.
Desinfektion af frø før plantning
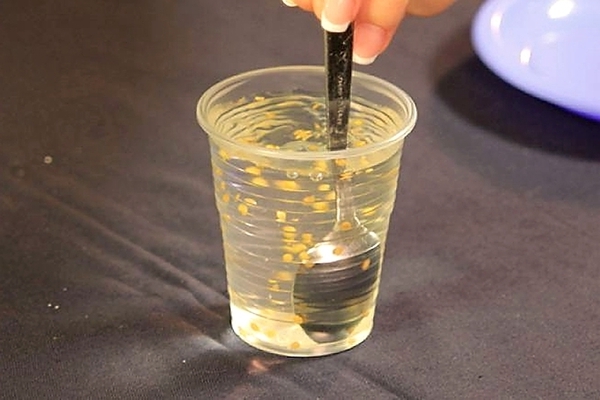
Frøforberedelse er afgørende for høst. Jod ødelægger bakterier og giver frø et stærkere immunsystem, hvorfor fremkomsten af frøplanter accelereres og i fremtiden bliver tomater mere modstandsdygtige over for ugunstige miljøforhold.
For at desinficere frø skal du:
- Tilsæt 0,1 g jod til 1 liter varmt vand
- Nedsænk frøene i vand i 10 minutter
- Hæld vandet fra
- Skyl frøene med rent vand
Derefter skal frøene tørres i sollys i syv dage og spredes på et håndklæde. Mørke pletter på frøet angiver infektion og vil ikke høste. Slip af med dem. Sunde frø skal pakkes ind i en klud eller papirpose og derefter behandles på den sædvanlige måde.
Forarbejdningsmetoder, rod- og bladfodring af tomater
Du kan befrugte tomater med jod både på ubeskyttet jord og i drivhuse. Det er dog værd at huske, at drivhuset er et lukket rum, og der skal udvises forsigtighed ved behandling med jod, da indånding af joddampe kan forgiftes af stoffet. Det anbefales at bære åndedrætsværn!
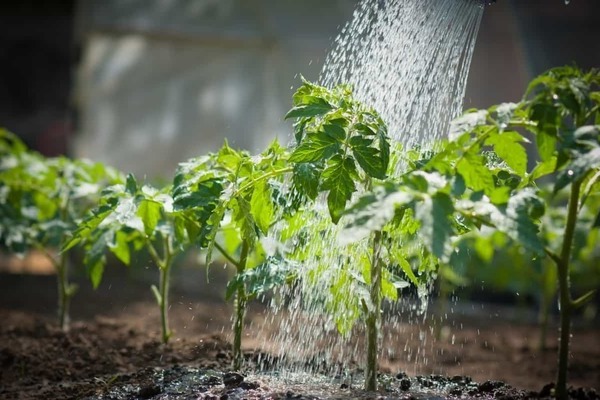
For at planten bedre kan optage næringsstoffer og for at undgå skader eller forbrændinger på planten, skal gødning med gødning påføres fugtig jord. Det tilrådes at klippe jorden rundt om planten.
Ved vanding af planten bør vandet ikke være koldt. Strålen skal rettes mod plantens rod og forsøge ikke at sprøjte på blade og stilke. Det er bedst at vande om morgenen eller aftenen, ikke i varmt, men helst køligt vejr.
Tomater skal ikke vandes mere end en gang hver tiende gang. I en tør, varm periode kan tiden imidlertid forkortes til fire dage.
Vigtigt: efter transplantation behøver du ikke at vande jorden i cirka ti dage. Når det bliver koldt, skal du helt stoppe med at vande.
Der er 2 måder at anvende topdressing på: rod og ikke-rod. Med rodmetoden påføres gødning under roden, under bladfodring sprøjtes plantens luftdel - blade, stilke. For en længere og mere effektiv effekt er det nødvendigt at skifte begge metoder.
Rodmetode - den første fodring af tomater
Den første fodring udføres, når de første fire sande blade vises på planten. I 3 l. ikke koldt vand skal du tilføje en dråbe jod. For en busk, en halv liter.
Den anden fodring udføres, når frugternes æggestok vises. Her er sammensætningen lidt anderledes: i 10 liter. vand skal du tilføje tre dråber jod, og derefter bruges 1 liter til en busk.
Den tredje fodring udføres allerede i frugtperioden. Denne gang skal der sammen med jod også tilsættes aske med borsyre til vandet, nemlig:
- I 5 liter. vand blandes med 3 liter. aske, tilbage i en time
- Tilføj yderligere 5 liter. varmt vand sammen med 10 ml. jod og 10 ml. borsyre
- Godt blandet opløsning og lad stå i et døgn
Efter omrøring af væsken er det nødvendigt at fortynde en liter af denne infusion med en spand vand. For en tomatbusk, ikke mere end en liter opløsning.
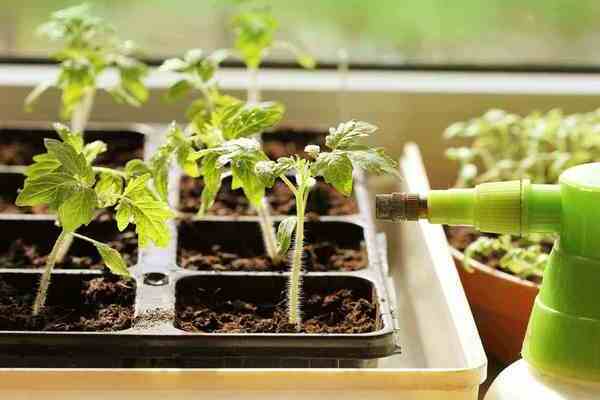
Bladfodring af tomater
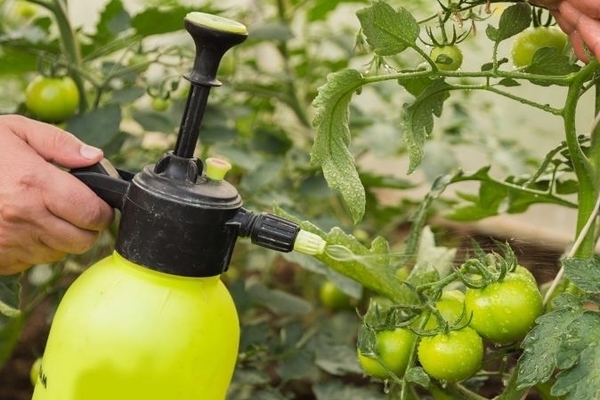
Med denne metode sprøjtes jod på plantens blade og stilke. Bladmetoden genopfylder jodmangel i en plante på grund af dens evne til hurtigt at optage de stoffer, den har brug for, gennem bladpladens overflade
For at undgå forbrændinger eller skader på planten bruges en svagere løsning end til roddressing. Sprøjtning udføres gennem en sprøjteflaske, det anbefales også at sprøjte om morgenen eller aftenen, helst i fravær af regn, ellers vil opløsningen vaske bladene af.
Opløsningens sammensætning til bladfodring: en spiseskefuld jod og 1 liter fedtfrit mejeriprodukt tilsættes til 4 liter koldt vand.
Sprøjtning med jod bør ikke foretages mere end en gang hver anden uge.
Hvad skal man ellers bruge jod til?

For at øge effekten af jodopløsningen i topdressing er blanding af stoffet mulig med andre blandinger.
Hvis du bemærker tegn sen rødme på planten skal du:
- 10 liter varmt vand
- 1 liter valle
- 10 ml. 3% peroxid
- Alternativ fodringsmetode til rod og blade
eller:
- 1 l. vand ved stuetemperatur
- 1 ml. jod
- 4 dråber strålende grøn
- Også alternativ fodringsmetode til rod og blade
Mod patogener meldug nødvendig:
- 3 l. varmt vand
- 350 ml. mælk
- 4 dråber jod
- Alternativ fodringsmetode til rod og blade
For at undgå almindelige fejl
For en vellykket behandling af planter med jod er det nødvendigt at overholde nogle ekstremt vigtige regler:
- Lad planten vænne sig til og tilpasse sig det nye sted, efter at du har transplanteret det, det skal genoprette rodsystemet.
- Tilgå doseringen af jod og andre stoffer i opløsninger yderst ansvarligt, et overskud vil skade både planten og muligvis dit helbred.
- Vær forsigtig med borsyreopløsning, store mængder kan forårsage bladnekrose.
Jod er et sikkert og gavnligt næringsstof til tomaternæring. Takket være ham og vores instruktioner i artiklen kan du øge din høst. Glem dog ikke, at for at hjælpe planterne skal du også befrugte jorden og andre nyttige stoffer.