Topiary. Krøllet klipning af buske.
Denne artikel fortæller dig om den gamle, men altid relevante kunst at skabe "levende" figurer - topiær, som har pyntet europæiske haver i århundreder. Du vil også lære at oprette en gør-det-selv topiary på dit websted.

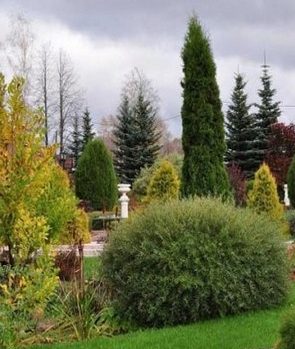
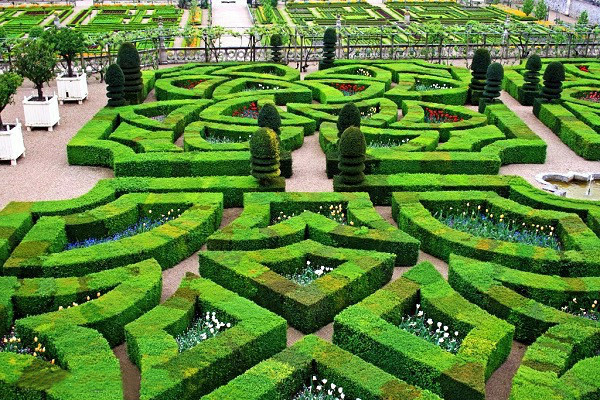
Topiarfigurer: foto
Det er naturligvis næppe muligt fuldt ud at følge i fodsporene for europæiske mestre i havedesign under forholdene i den indenlandske mellemzone. Traditionelt involverer kunsten at forme grønne former brug af laurbær, buksbom, taks, myrte. Enig, kulturer er ret eksotiske for vores klima. Derfor, som en analog, behandler indenlandske gartnere thuja western. Den mest populære sort er den søjleformede thuja. Dette er en stedsegrøn, uhøjtidelig plante med en tæt krone og en lækker aroma.
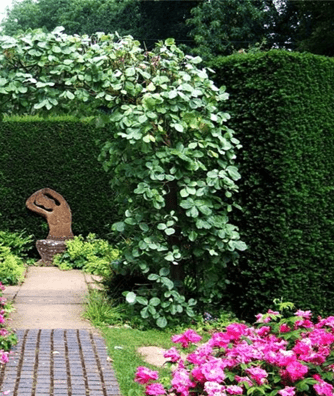
Topiaras figur: foto
Du kan købe allerede dyrkede frøplanter af thuja topiar, eller du kan dyrke dem selv fra frø, hvilket vil tage meget tid. Frøene sås før vinteren og spirer om foråret. Efter to år har de brug for en transplantation, da de dyrkede planter bliver trange. På dette stadium kan du vælge de mest levedygtige og stærke træer og arbejde videre med dem. De vil være klar til landing og forme dem om 4 år.
Stedet til plantning af ung thuja topiar skal være åbent og godt oplyst, så kronen udvikler sig jævnt fra alle sider. Men beskyttelse mod kulde og vind vil ikke være overflødig, derfor er det optimalt at arrangere træer under beskyttelse af bygninger eller bakker. Thuja foretrækker lerjord, der anbefales at blive befrugtet med organisk materiale på forhånd. Inden landingen skal du også grave området op for halvanden eller to bajonetter af skovlen.
Efter plantning består pleje af thuja topiary i regelmæssig vanding, fordi denne art foretrækker fugtig jord og luft og tolererer ikke tørke. For at bevare fugt anbefales mulching med tørv eller gødning. For at fremme dannelsen af en tæt krone kan du med jævne mellemrum knibe toppen af de aksiale skud. En almindelig beskærer bruges til at forme thujaen.
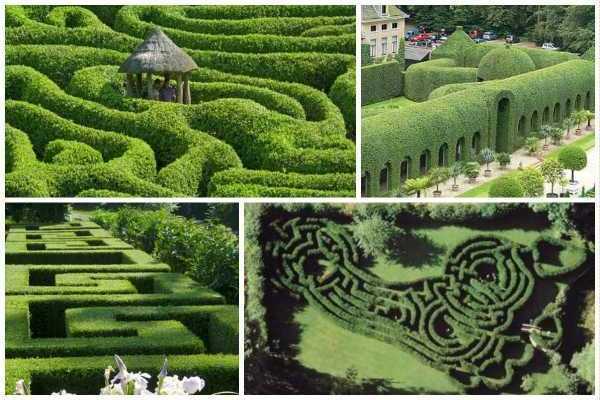
DIY topiary figur: foto
Der er flere regler for dannelse af en krone til topiary:
- Forholdet mellem højden af den kunstige krone og den naturlige skal være 1: 3;
- Kun beskæring af årlige skud (tyndere end 1 cm) er tilladt. Langsigtet vækst skærer kun som en sidste udvej og gradvist for at undgå at forårsage dybe sår på træet;
- Du kan fylde hulrummet i kronen ved at forkorte tilstødende skud.
Naturligvis kræver kunsten at gøre-det-selv topiary ikke kun kreativitet, men også tålmodighed. Trods alt kan processen med krondannelse tage flere år. For eksempel for at give kronen en konisk form skal følgende sekvens af handlinger observeres:
- i det første år er toppen af træet klemt;
- i det andet år er beskæring af de øverste og øvre skud, der rager ud over den ønskede form, tilladt;
- i de næste 3-4 år gentages beskæringsproceduren, indtil keglen er helt dannet;
- for at give den allerede dannede krone en klarere kontur og tæthed udføres klipningen 4 til 6 gange pr. sæson;
- For at bevare en konisk krone i perfekt stand er det nok at trimme den to gange om sæsonen.
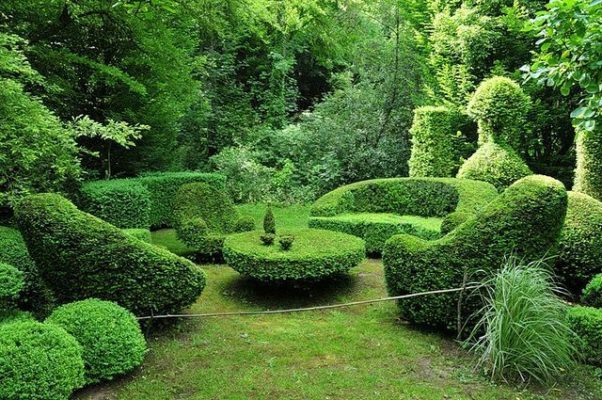
Topiaras figur: foto
Det er også muligt at danne en topiær figur i form af en standardkrone, for eksempel i form af en kugle. For at gøre dette, samtidig med at de øverste skud trimmes, skal du gradvist bar stammen. I det første år kan du fjerne skuddene op til 20 cm -mærket. I det andet år skal du gå yderligere 20 cm op. Sårene påført træet skal dækkes med havelak.På trods af arbejdets længde og deres langsomme tempo er Topiars kunst en af de mest effektive måder at skabe et virkelig usædvanligt og mindeværdigt haveensemble.